Seeds Grow Into Plants
Categories: Music And Science Mini Units, Uncategorized
A unit of work for primary school classes exploring the life cycle of plants through scientific investigation and musical activities
1. Finding Seeds (Science)
2. Characteristics of Seeds (Science)
3. Seed Shakers (Design and Technology)
4. “When My Roots Begin To Grow” Song (Music)
5. Recognising The Parts Of A Plant (Science)
6. Musical Plant Art (Art)
7. Plant Composing (Music)
8. Investigation – Do plants needs light and water to grow? (Science)
9. Investigation – The effects of air, water, light and temperature on plant growth (Science)
10. The Seed Musical Dance/Drama (Music/PE/Literacy/Science)
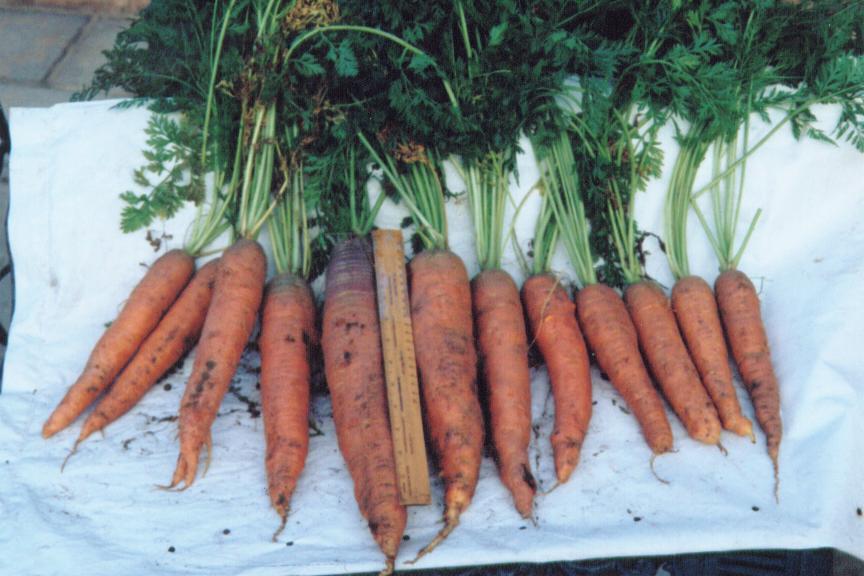
1. Finding Seeds
2. Characteristics of Seeds
Focus: Science – Green Plants
Curriculum Links and Learning Outcomes: Science: explore, using the senses of sight, hearing, smell, touch (and taste*), and make and record observations; Science: make simple comparisons and identify simple patterns or associations
Achievement objectives: Students will locate and make observations about a variety of plant seeds. Students will recognise that plants store their seeds in a variety of ways.
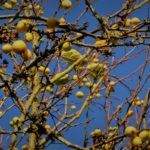
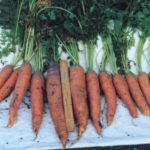
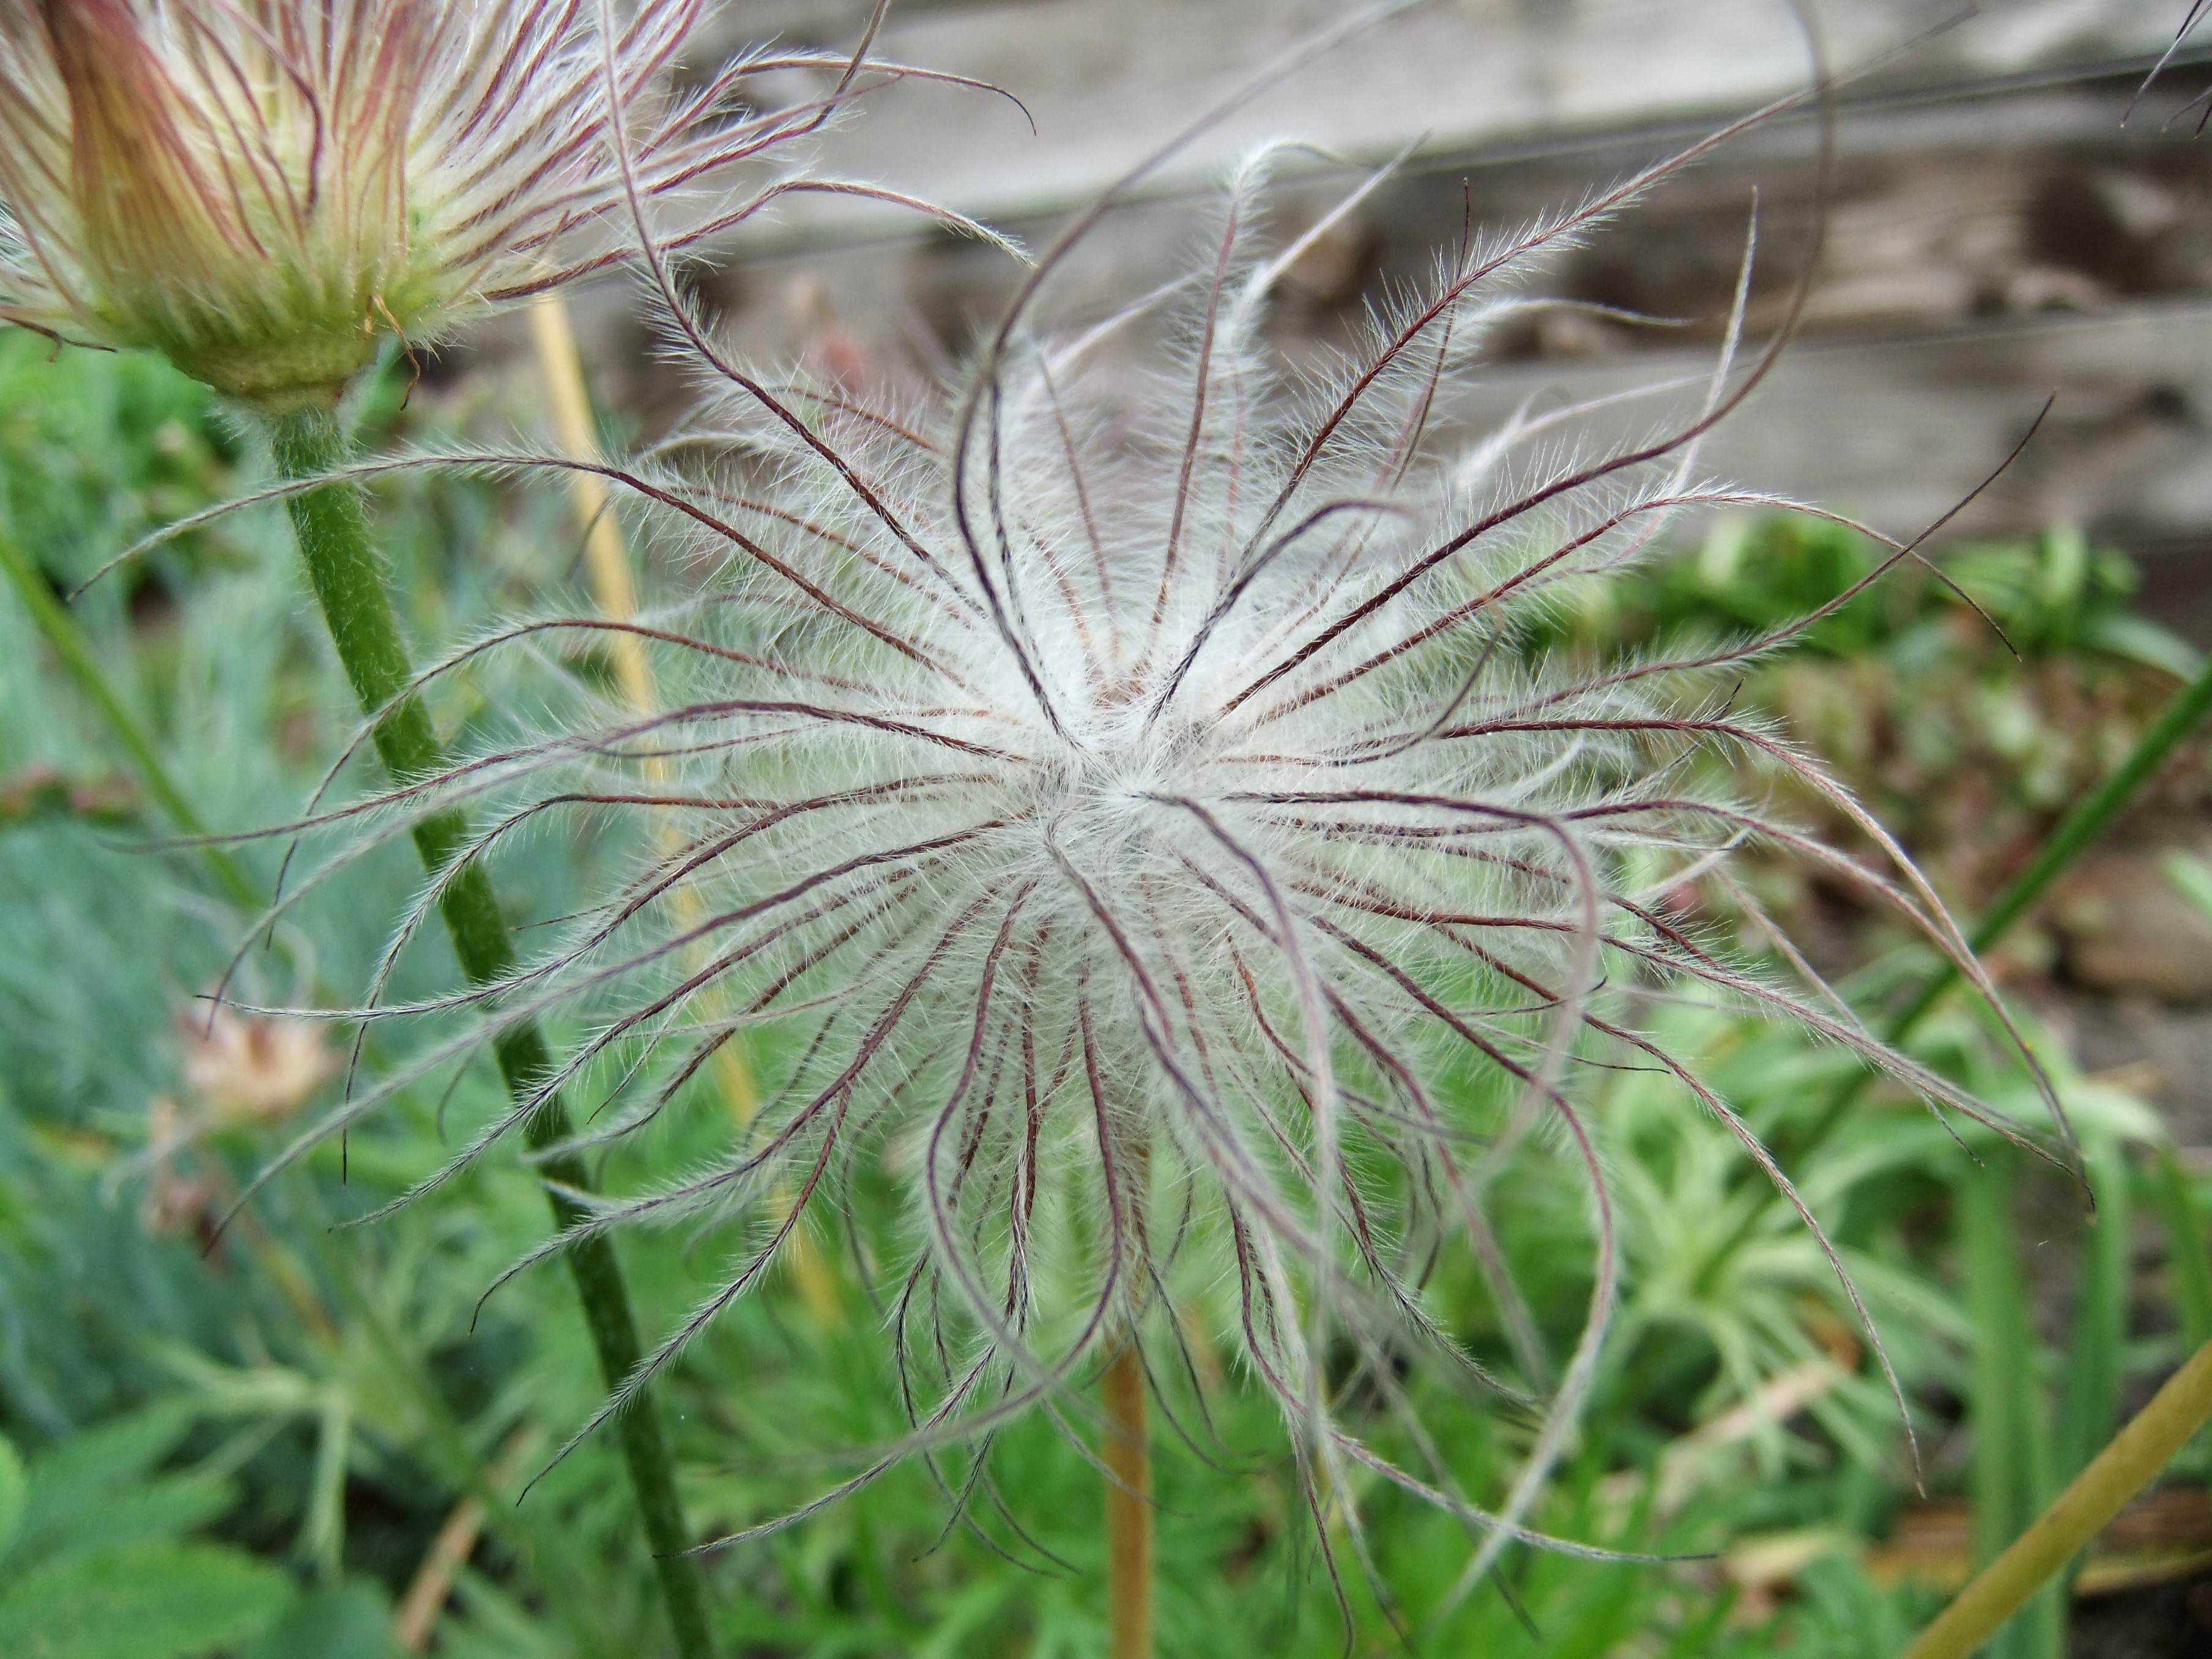
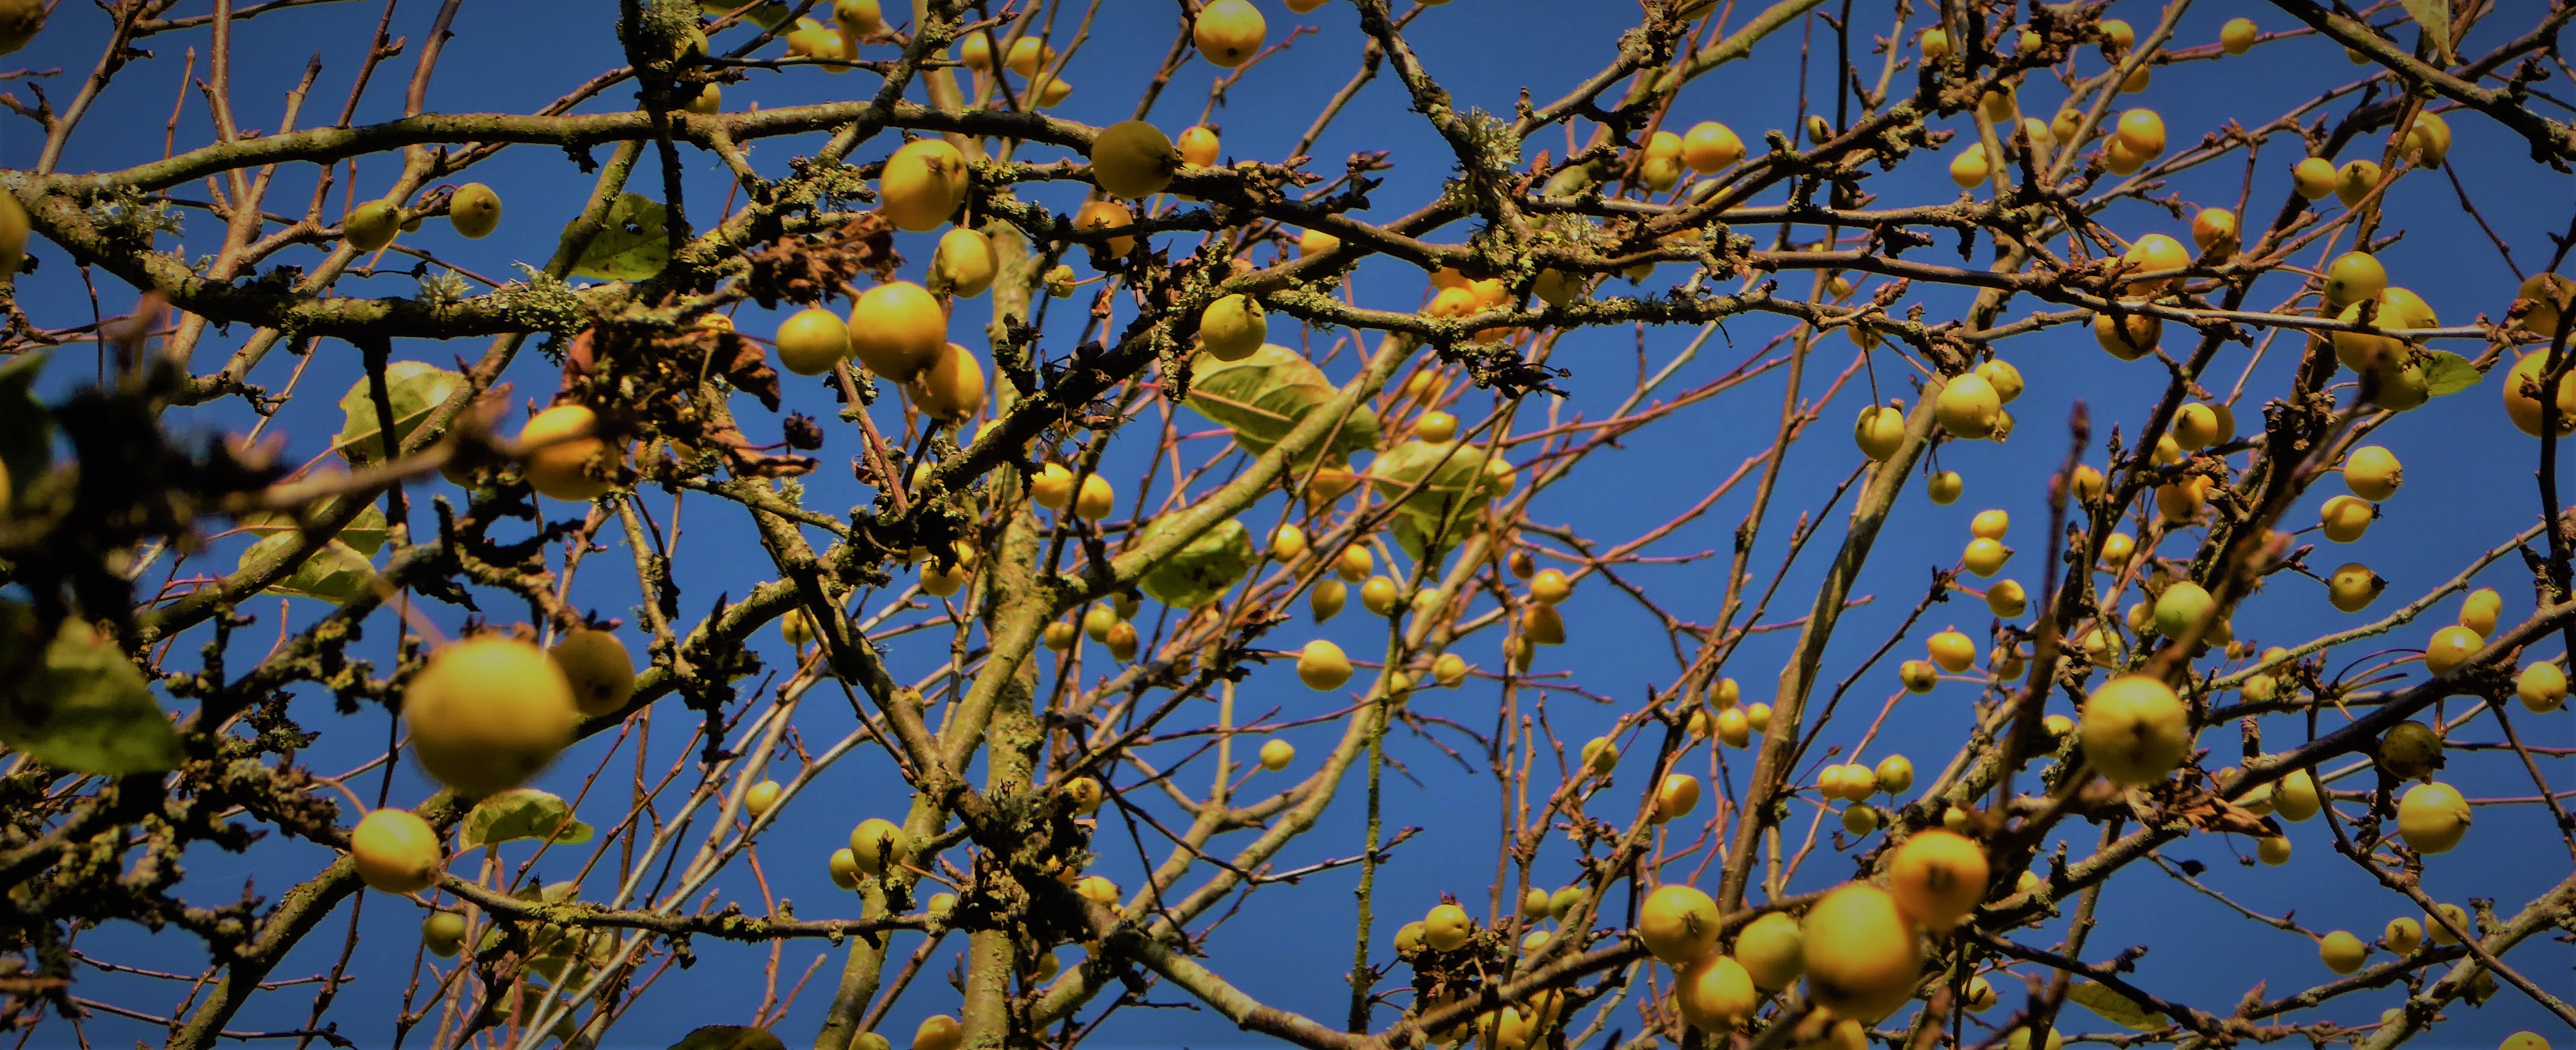
Resources: a variety of contrasting seeds stored in their natural place on the plant, for example, peas in a pod, beans in a pod, sunflower seeds on the plant, apples, oranges, strawberries, poppies, dandelions, sycamore; pencils, recording sheets
*Safety Note: Do not allow students to put even edible seeds in their mouths without checking for allergies.
Strategies:
- Many plants have seeds. When the seeds fall to the ground, they grow into new plants.
- Observe the plants in the room and notice where the plants store their seeds.
- Write down your observations on the seed observation sheets.
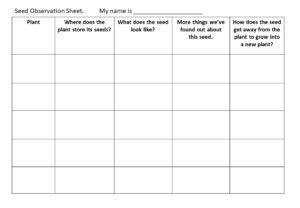
Seed Observation Sheet – if you click on it, it will open to be bigger, then you can print it!
- Using the seeds from the plants as well as some other seeds in packets, ask other questions about their characteristics and discover the answers.
- Some possible questions are: How much do they weigh? Which is the largest and smallest? Do they float or sink in water? What happens if you leave them in the water for a while? Are they all the same shape?
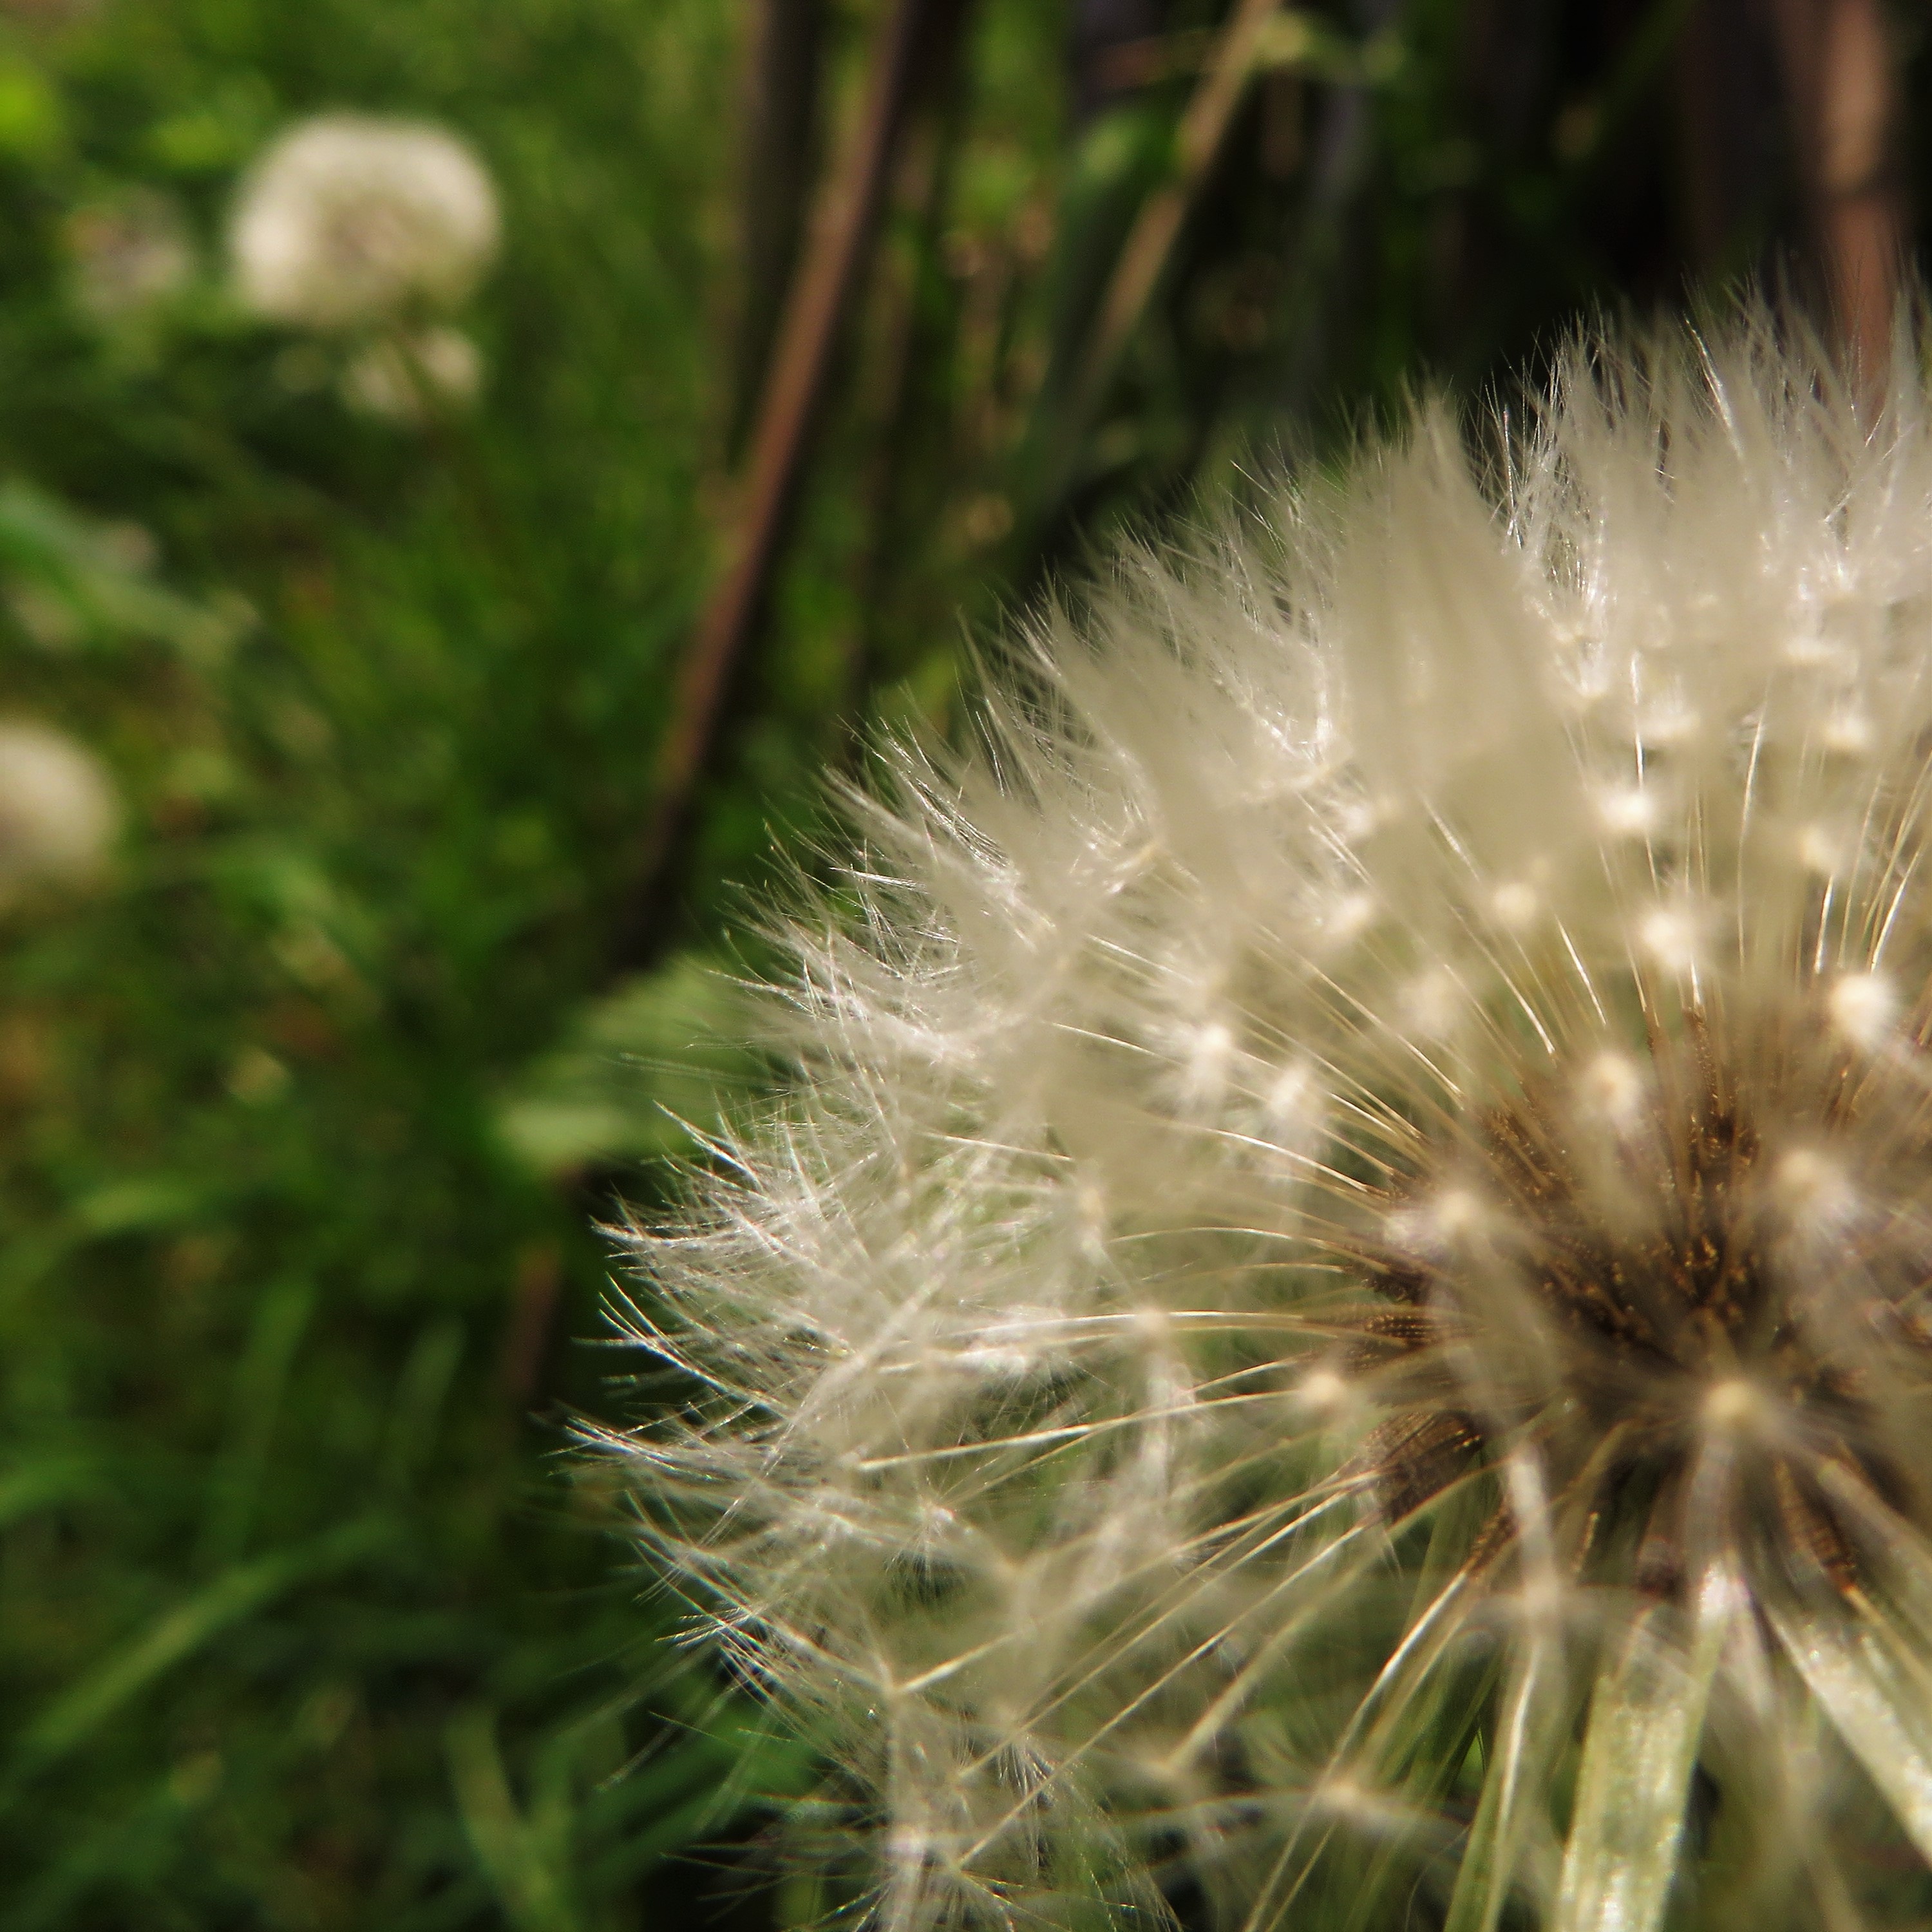
- Extension activity: Seed dispersal: The reason a plant produces a seed is because the seed will fall to the ground and produce another plant. The plant often wants the new plant to grow away from the old plant. How will the seeds we have looked at get to another place to grow? Write down your ideas on the seed observation sheets.
3.Investigation – Seed Shakers
Focus: Science – making a fair comparison; Design/Technology (DT) – making musical instruments (seed shakers).
Curriculum Links and Learning Outcomes: Science – think about what might happen before deciding what to do; Science – recognise when a test or comparison is unfair; DT – develop ideas by shaping materials and putting together components; DT – explore the sensory qualities of materials
Achievement objectives: Students will design seed shakers that demonstrate the sound qualities of a variety of seeds and a variety of containers.
Resources: a variety of contrasting seeds for example, peas or other beans, seeds from sunflowers, poppies, dandelions, sycamore, horse chestnut; containers to put them in – lots the same and a few different.
- Use the different seeds to create an orchestra of seed shakers.
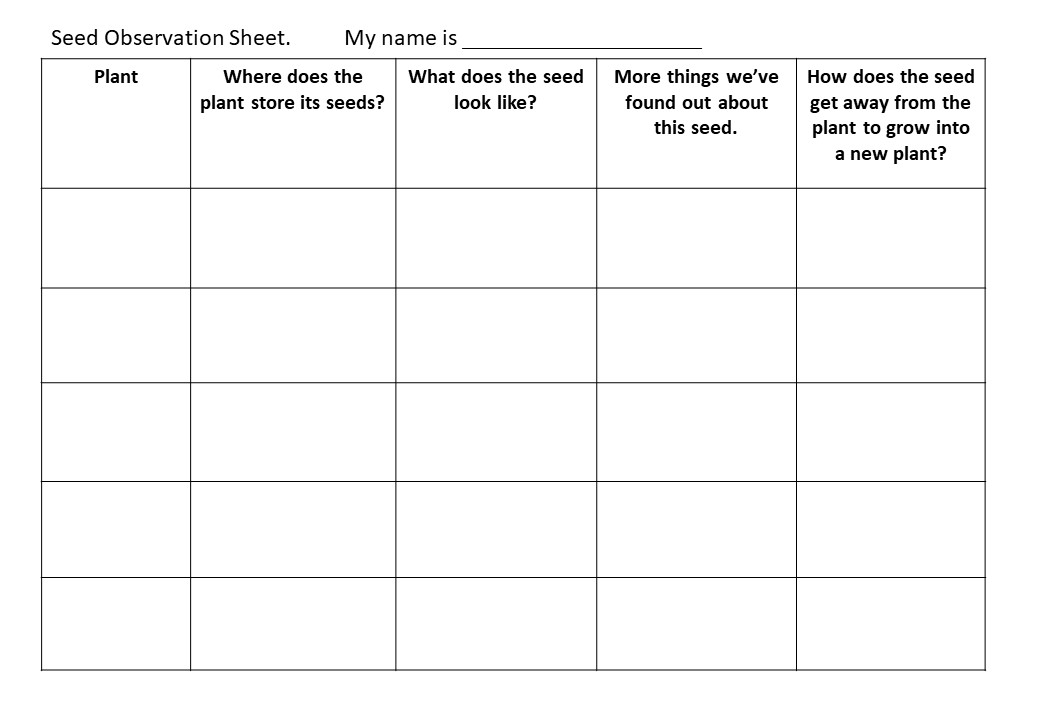
- We’re going to choose twenty seeds of each type, put each type in containers, which are all the same, and shake them up and down. What will the different seeds sound like in the containers? Predict what will happen and write your answers in a chart like this:
- Make the shakers and write down what they really sound like in the 6th column of the chart.
- What will happen if we change the container?
- What will happen if we change the number of seeds in the container?
- What will happen if we move the shaker round and round instead of up and down?
-
-
-
- Set up a rotation of sound experiments. Children in groups spend five minutes at each experiment, describing the sounds and working out what has changed and perhaps why the sound is different. Ask each group of students to report back to the others about the last experiment they arrive at – they may need longer at their last experiment to be able to report back.
-
-
Possible experiments:
Experiment to test how the sound changes when the seed is changed: Five types of contrasting seed, twenty of each seed, containers all the same, shake up and down.
Experiment to test how the sound changes when the size of the container is changed: One type of small seed, twenty of each seed, containers all different sizes but made of the same material (make the smallest very small, and the largest very big), shake up and down.
Experiment to test how the sound changes when the size of the container is changed (2): One type of large seed, twenty of each seed, containers all different but made of the same material (the smallest should be big enough to put twenty seeds in, but with little or no room to spare), shake up and down.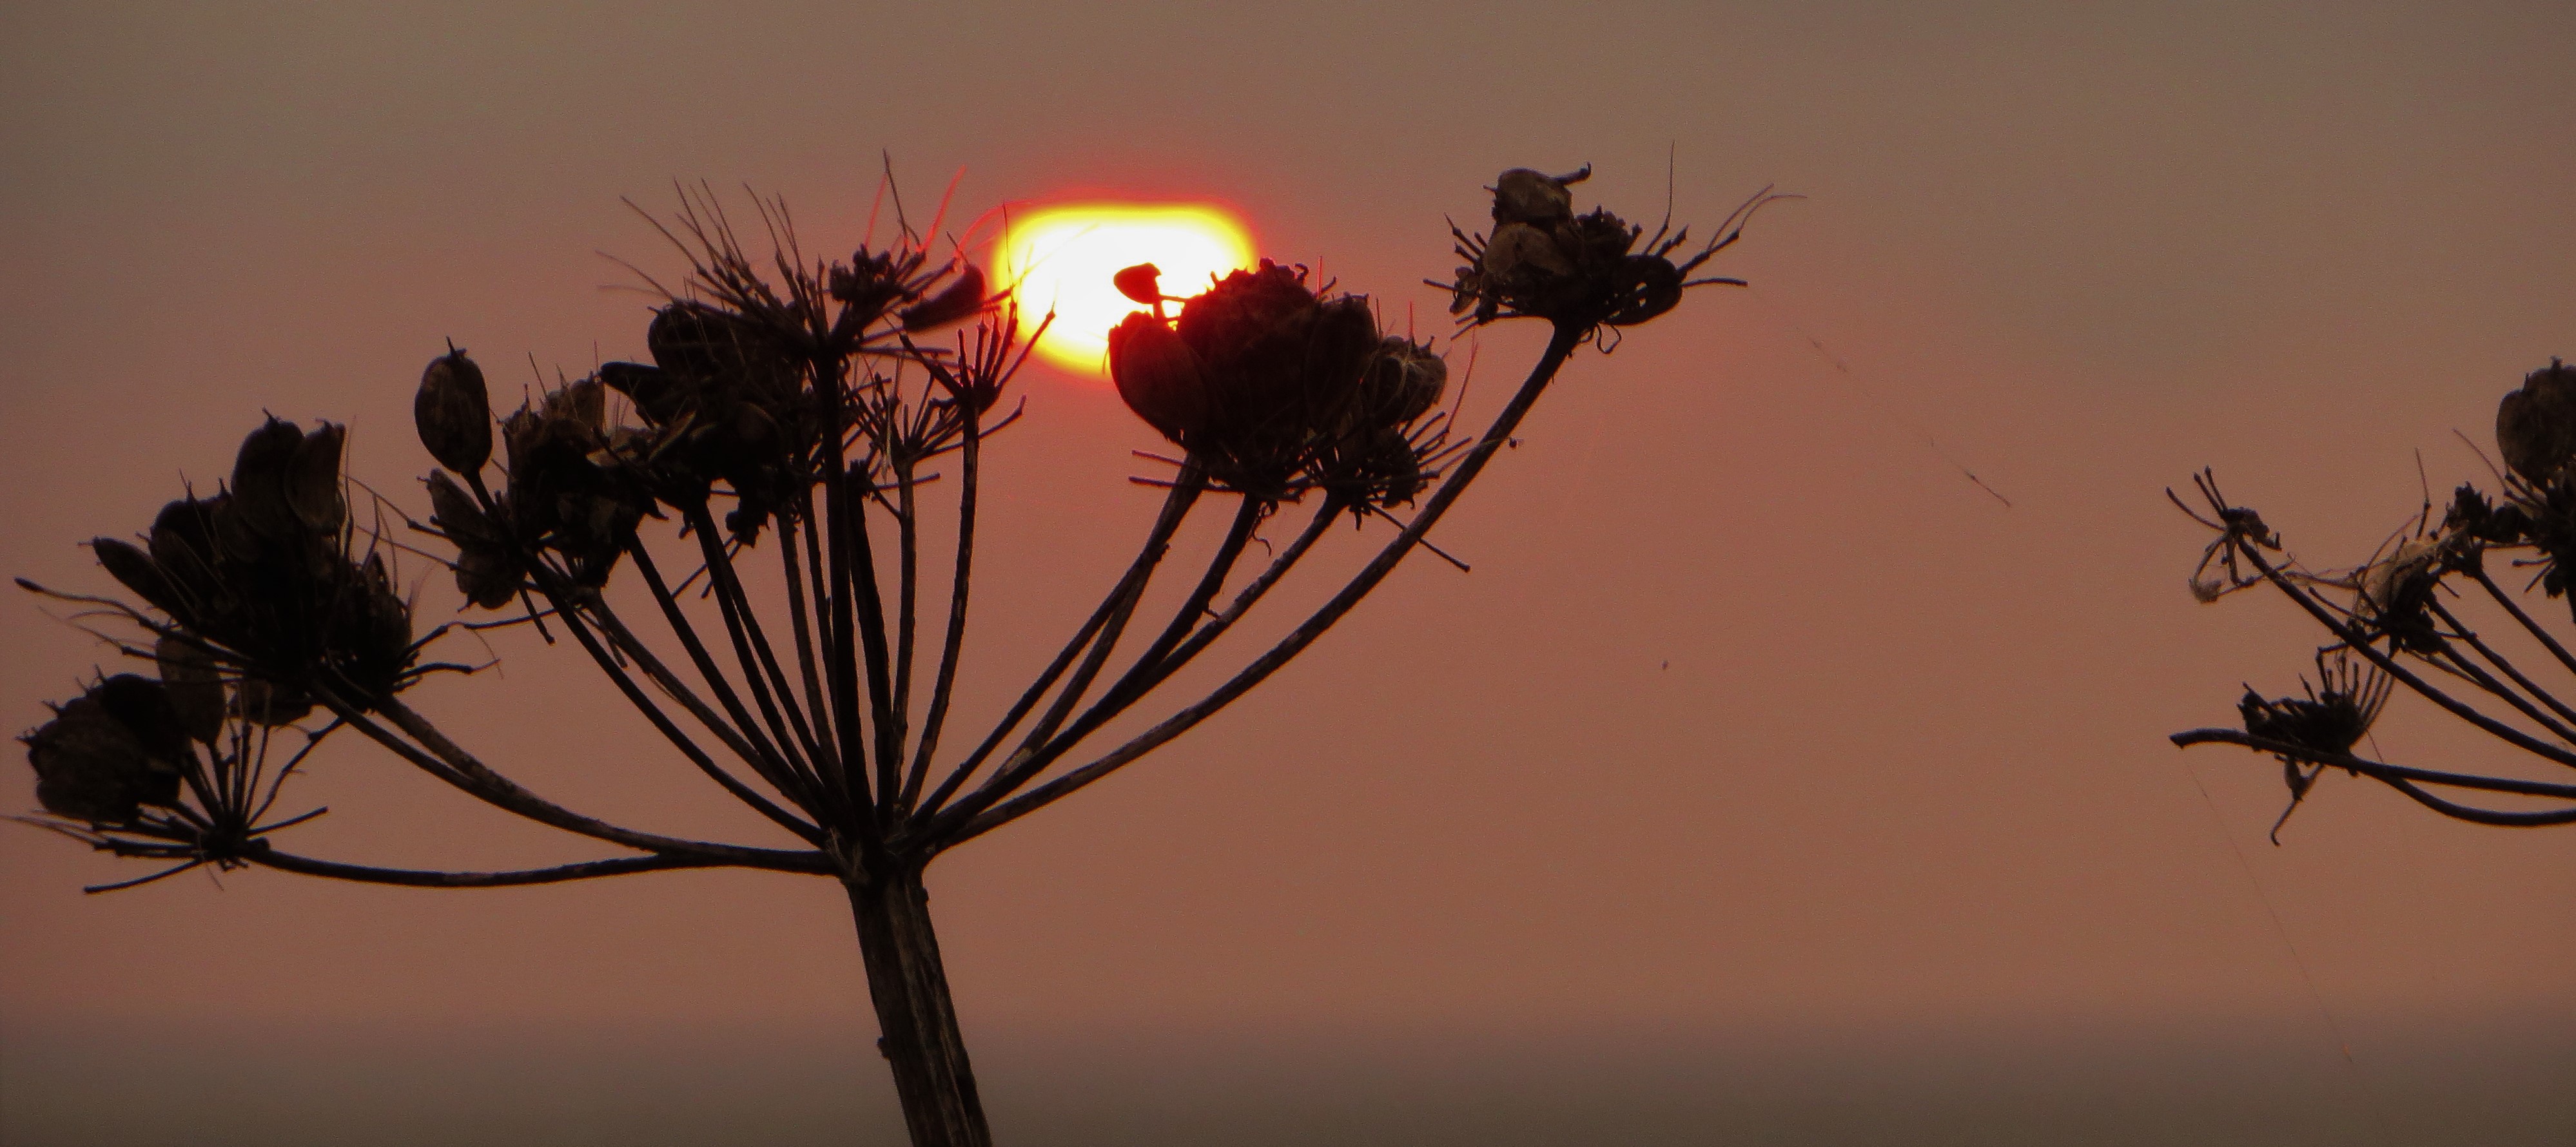
Experiment to test how the sound changes when the number of seeds in the container is changed: One type of seed, different numbers of the seed in each container, containers all the same, shake up and down.
Experiment to test how the sound changes when the shaker is shaken in different ways: One type of seed, twenty seeds in each container, containers all the same, different methods of shaking (up and down, side to side, spinning, stirring, end over end)
Experiment to test how the sound changes when the material of the container is changed: One type of seed, twenty seeds in each container, containers all similar size, but made of different material (or lined with different material), shake up and down.
- Discuss results of experiments.
- Understand that within each experiment only one element changed for each shaker, and that if more than one element is changed the experiment will not answer the question posed.
- Extension activity (science) – Explain why the sound of the shakers changes in each of the experiments and fill in the last column of the chart.
- Extension activity (music) – create some music for your seed shaker orchestra and perform it to the class.
3. “When My Roots Begin To Grow” Song
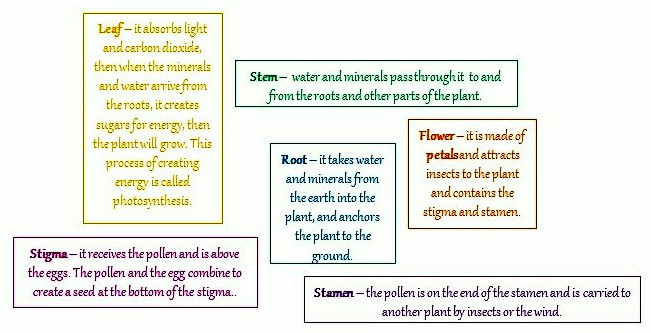
4. Recognising the Parts Of A Plant
Focus: Science – recognising parts of plants
Curriculum Links and Learning Outcomes: Science – recognise and name the leaf, flower, stem and root of flowering plants; green plants – growth and nutrition and reproduction
Achievement objectives: Students will recognise and name various parts of the plant, and learn something about the purposes of various parts of a flowering plant.
Resources: diagram of flowering plant, song words for display
- Learn the song “When My Roots Begin To Grow”.
- If you click this link, you’ll find the lyrics. When my roots begin to grow
- Alternatively, to develop your musical listening skills, you should use these jumbled-up lyrics and put them in the correct order first! When my roots begin to grow mixed up lyrics
You can listen to the song and sing along if you click this link: When My Roots Begin To Grow video
- Using the words and descriptions in the song draw a flowering plant and label it using the captions and names below.
6. Musical Plant Art
Focus: Art and Design – designing floral images; Music – using music notation signs
Curriculum Links and Learning Outcomes: Art & Design – design and make images and artefacts; Music – understand music notation symbols
Achievement objectives: Students will demonstrate their understanding of the parts of flowering plants through using music notation symbols in visual art.
Resources: reference material for music notation symbols and their meanings, and parts of plants; materials to make images (2 or 3D) of flowering plants.
- Look at some music and isolate some music notation symbols you like the look of.
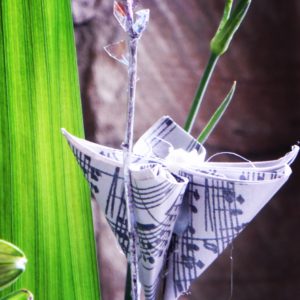
“Lesser-Known Musical Note Flower” Ann Lings, 2017
- Learn what your chosen symbols mean so that you can play your plant later.
- Practise drawing some of your favourite music symbols.
- Create a 2D or 3D image of a musical flowering plant.
- Your plant must demonstrate all the parts mentioned in the song “When My Roots Begin To Grow.”
- Your plant must also be created using music notation symbols.
- When you’ve created your musical flowering plant, use it as a graphic score and perform it, to show that you understand what the symbols mean.

7. Plant Composing
Focus: Music – composing music using plants for inspiration
Curriculum Links and Learning Outcomes: Music – Creating and developing musical ideas
Achievement objectives: Students will compose musical ideas, organise them within musical structures; for older students – students will develop their musical ideas and improve their work.
Resources: plants of various types and contrasting to look at, touch, smell etc; classroom instruments; notation equipment as required.
- Study the plants in the room and think about how they look, feel and smell, perhaps how they sound too when you move them.
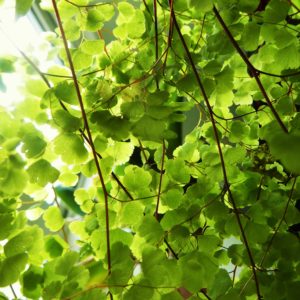
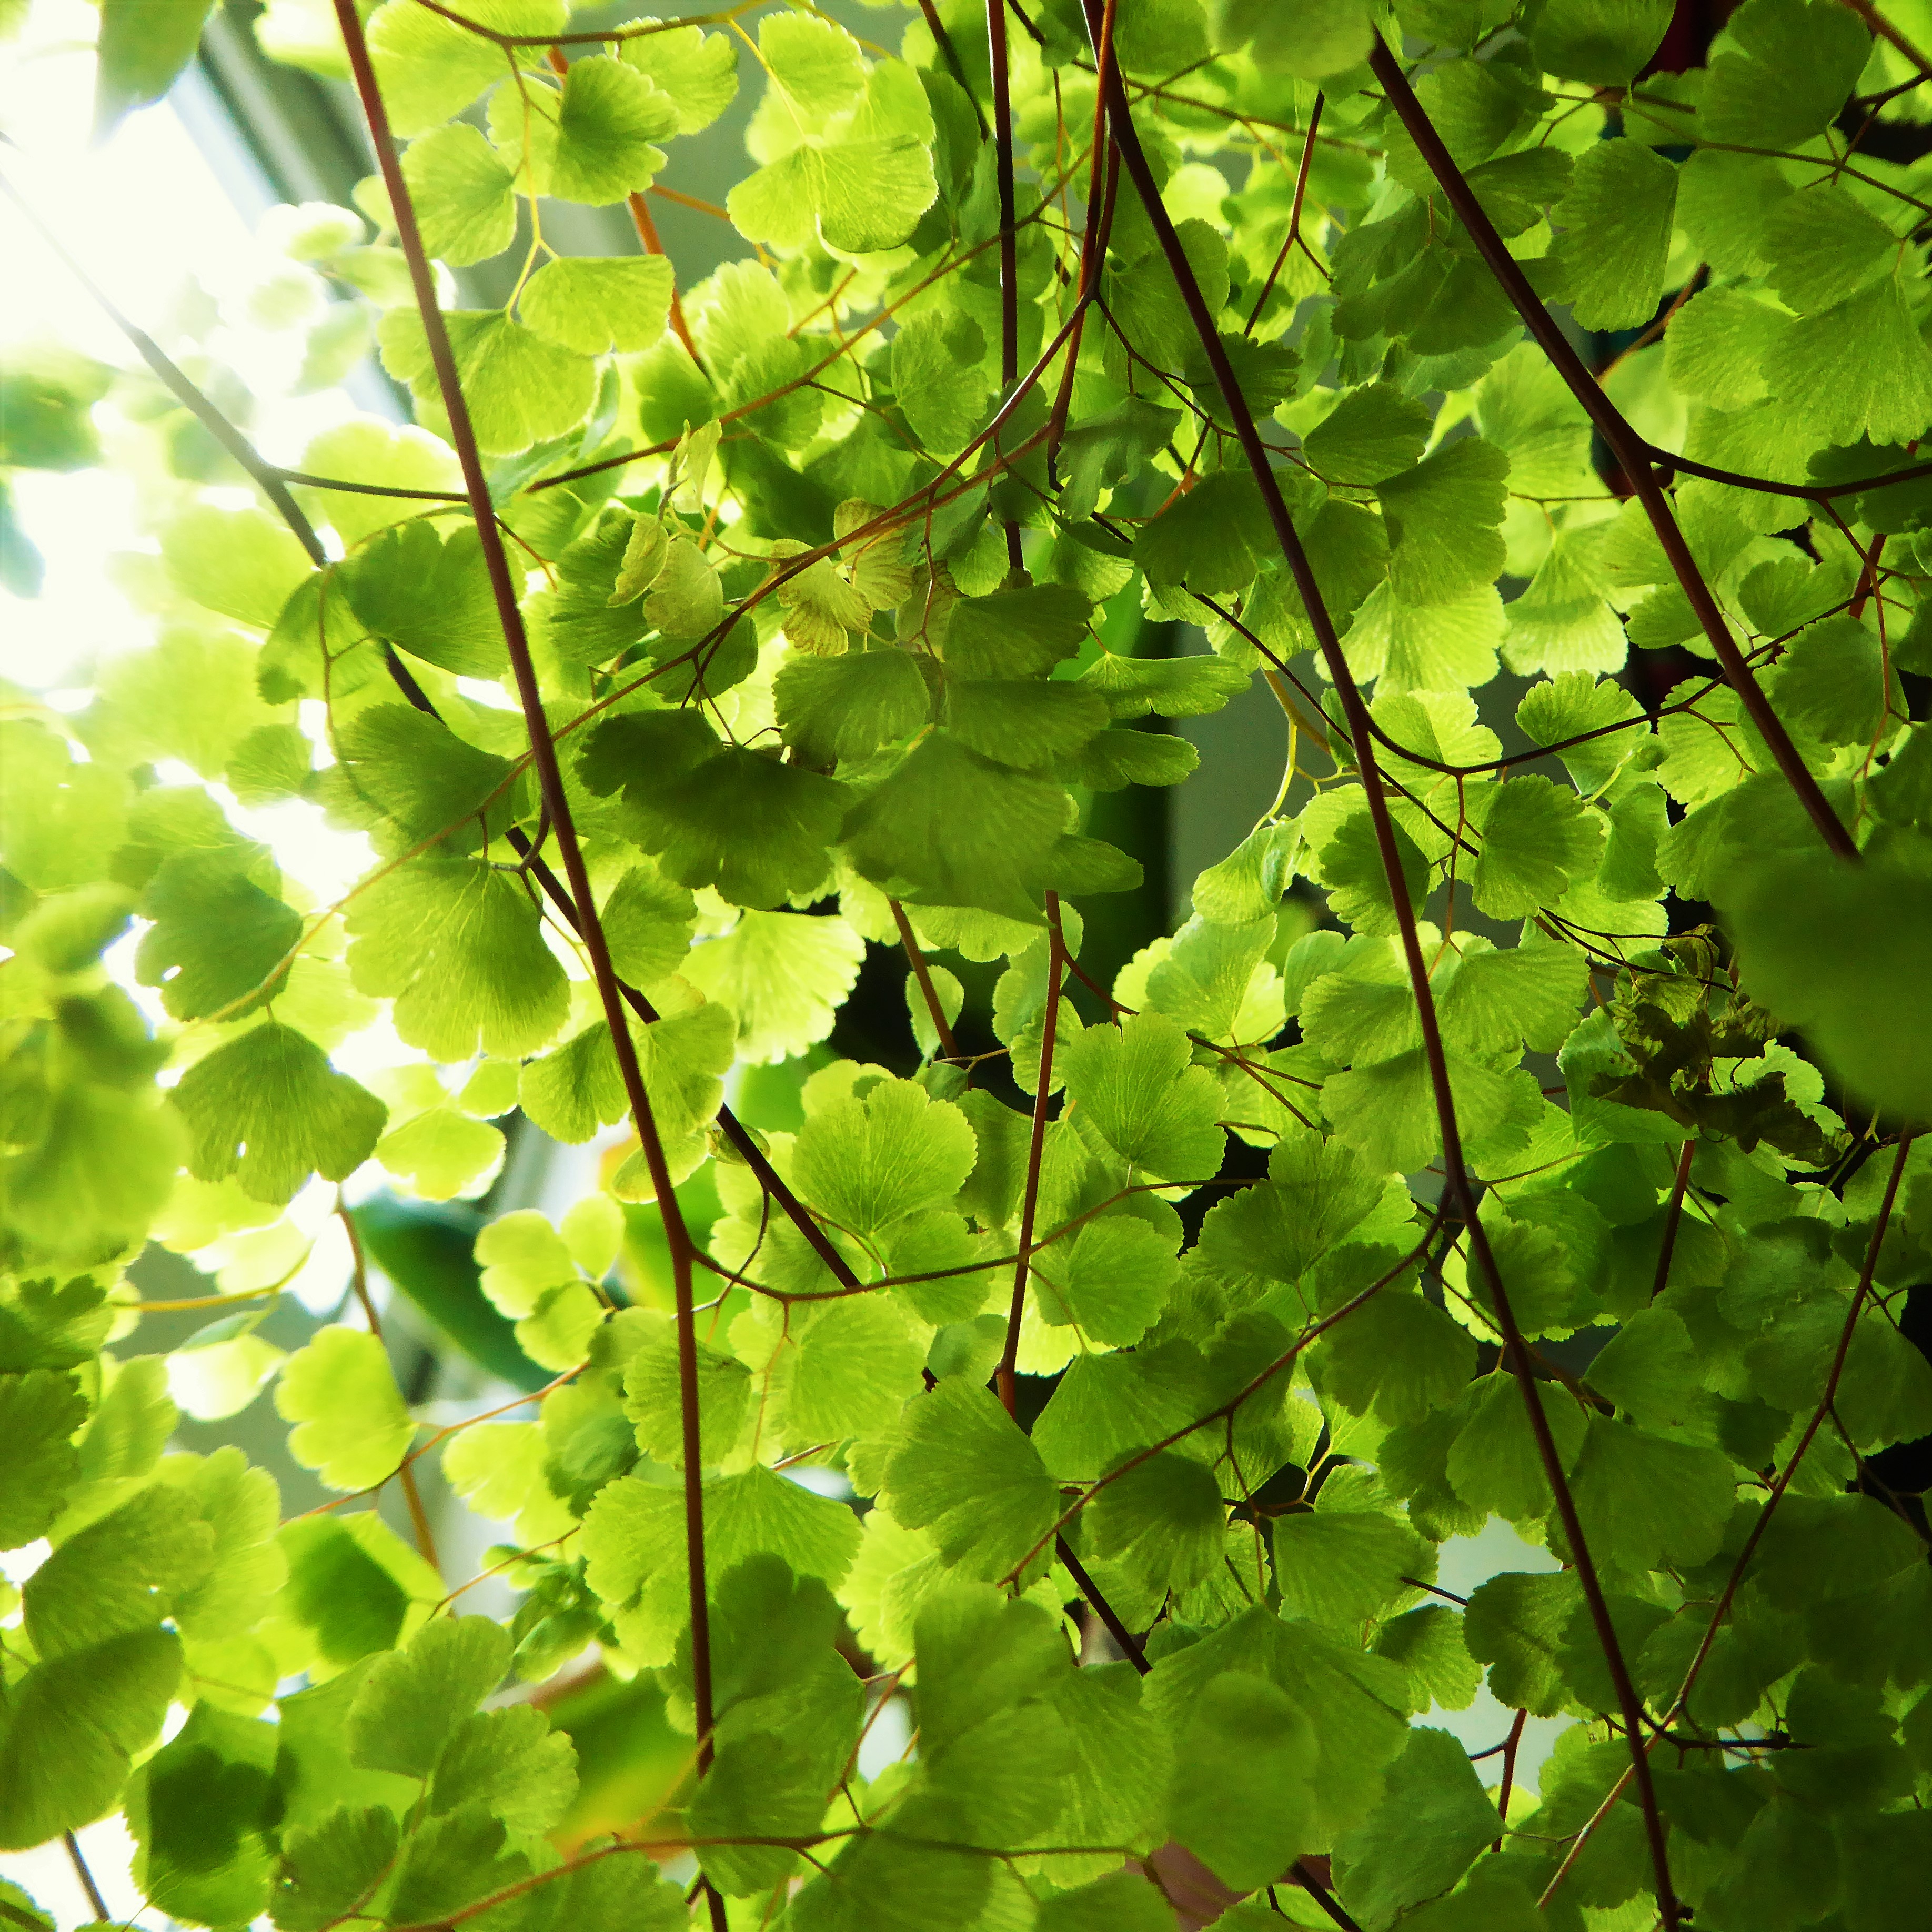
- Choose one plant and make a note of all the words and phrases the class can think of to describe that plant. For instance, if you choose a maidenhair fern, you might have a list like this:
Lots of small leaves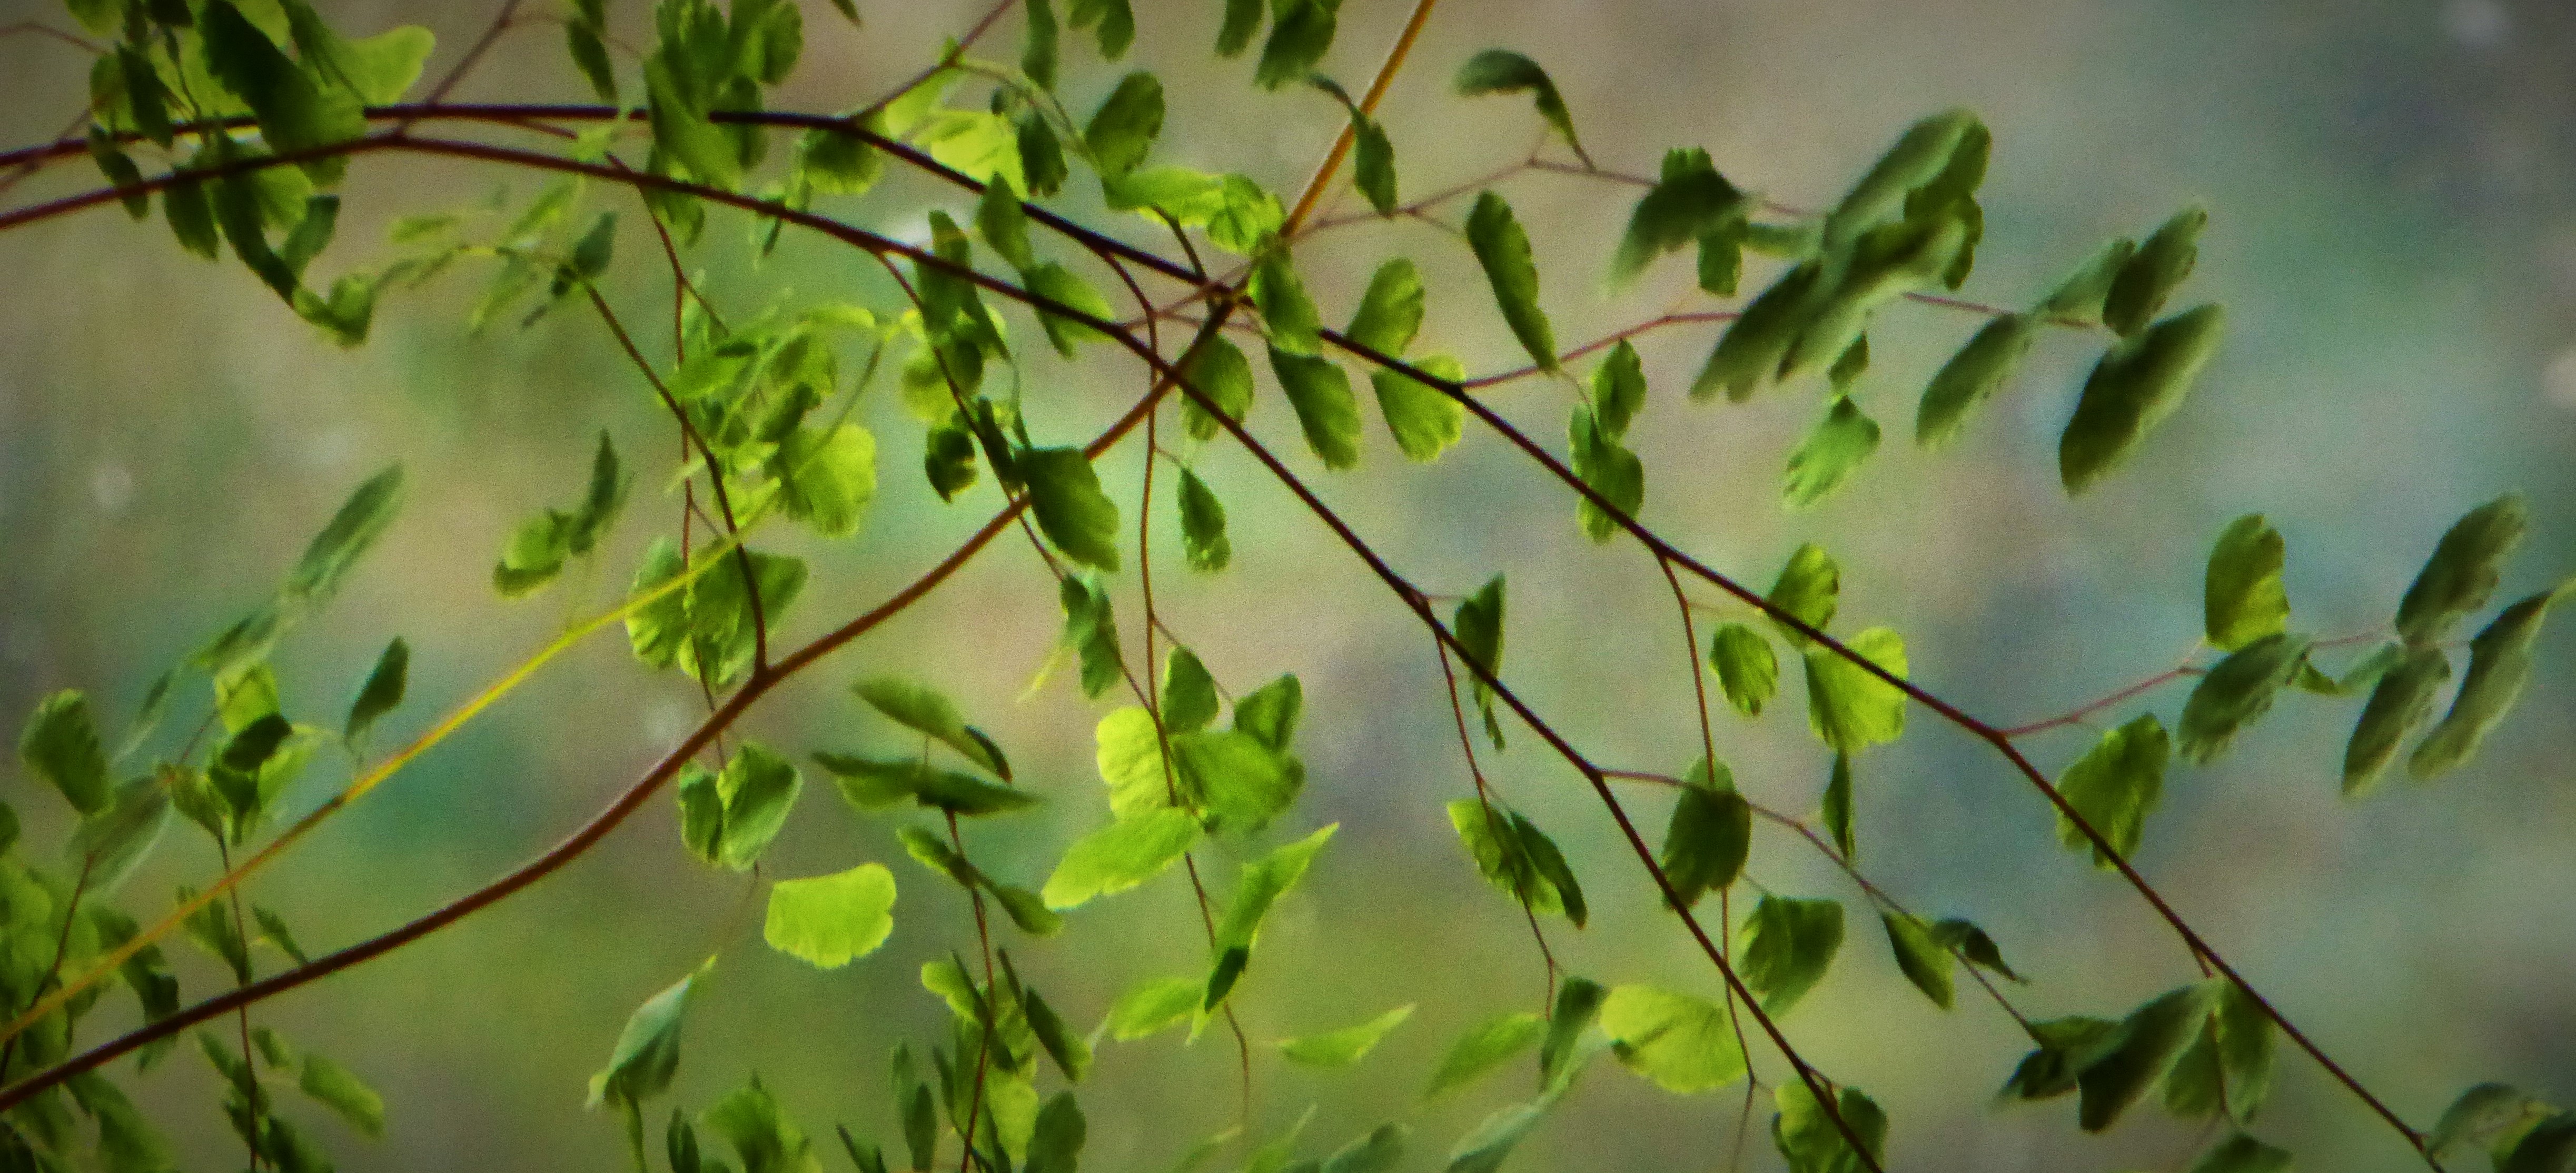
Rustles
Feathery
Bobbly edges
Sways
Long stems
Thin leaves
Smooth leaves
- Think of musical ideas that could be described in the same way. Here are some ideas for maidenhair fern.
Lots of small leaves – lots of small sounds or a shaker
Rustles – newspaper or leaves – you could use the plant itself
Feathery – bamboo or shell chimes
Bobbly edges – rough sounds
Sways – repeated sounds that become quieter and quieter
Long stems – long sounds
Thin leaves – quiet sounds
Smooth leaves – smooth sounds, sounds that ring on for a long time
- Combine three or four of your ideas together into a piece of music. Think of a beginning, middle and end. Develop some of your musical ideas during the middle section.
- Now on your own or in a small group, compose some music to go with one of the other plants in the room.
- Perform your music to the class. See if they can tell which plant it is.
- If there is time, have another go at the same plant. How could you improve your work?
8. Investigation – Do plants need light and water to grow?
Focus: Science – Do plants need water and light to grow?
Curriculum Links and Learning Outcomes: Science – to recognise that plants need light and water to grow.
Achievement objectives: Students will investigate whether plants need water and light to grow.
Resources: several weeks (this is a long investigation as the seeds have to germinate, and the plants grow to a certain extent before measurements can be taken); seeds (choose a variety that germinates fairly quickly); potting mix; plant pots; seed growth observation sheets.
- Do plants need light and water to grow? What do you think?
- Plant the seeds in the potting mix and plant pots.
- How can we test whether these seeds need water to grow into plants?
- How can we test whether these seeds need light to grow into plants?
- Set up four groups of planted seeds:

- One with light and water (water regularly, but not too much)
- One with light but no water
- One in the dark with water (water regularly, but not too much)
- One in the dark with no water
- Which plants do you think will grow the best? Why?
- At regular intervals (perhaps once a week) observe what’s happening to the seeds under each of the four sets of growing conditions. Record observations on the Plant Growth Observation Sheet.
- What sort of things should we make a note of?
- You could make a note of
the height of the plant;
how many leaves it has;
the size of the leaves;
how green it is;
how it’s changed since last time?
- At the end of the experiment, which plants have grown the best? Why do you think this is?
9. Investigation – The effect of air, water, light and temperature on plant growth
Focus: Science – air, water, light and temperature have an effect on how plants grow.
Curriculum Links and Learning Outcomes: Science – the effect of light, air, water and temperature on plant growth.
Achievement objectives: Students will investigate the effects of air, water, light and temperature on plant growth.
Resources: several plants already germinated and grown to a certain extent with several leaves; plant growth observation sheets; airtight containers that will allow you to water the plant while not letting in any air; cold place (outside); hot place; dark place
- Do air, water, light and temperature affect the way a plant grows?
- How can we find out?
- Set up several experiments, each of which contains a few plants and changes one of these elements, and one control experiment:
Control – Plants in room temperature, with water, in the open, near light;
Plants in room temperature, no water, in the open, near light;
Plants in room temperature, with water, in an airtight container, near light;
Plants in room temperature, with water, in the open, no light;
Plants in a cold temperature, with water, in the open, with light;
Plants in a hot temperature, with water, in the open, with light.
- What do you think will happen to each set of plants? Why?
- At regular intervals observe what’s happening to the plants under each of the sets of growing conditions. Record observations on the Plant Growth Observation Sheet
- What do the results tell you about what your plants need to help them grow?
- Choose one of the categories on the observation sheets, such as number of leaves, or height of plant, and draw a line graph to show how the plants have developed during the experiment.
- Here’s an example of how your line graph might look:
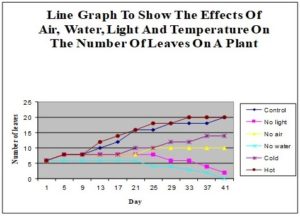
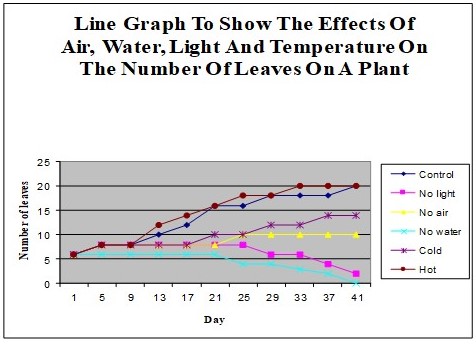
- This example was created using Microsoft Excel on the computer. Here’s how to do it:
- Use column A to write when you took the readings.
- Use line 1 to write the name of each experiment.
- Then write the data in the correct columns for each day or date.

- Select all the boxes with headings and data in and click the “Chart Wizard” icon.
- Select the type of graph you want – line graph with markers. Press Next.
- Check that you have selected the correct boxes, and choose “column”. Press Next.
- Type in the title of your graph, and the heading for each axis. Remember, the X axis is along the bottom and the Y axis is up the right-hand side. Press Next.
- Select “as new sheet”. Press Finish.
10. The Seed – Musical Dance/Drama
Focus: Music – creating sound effects; PE – communicate ideas through dance. Curriculum Links and Learning Outcomes: Science – green plants; Music – creating and developing musical ideas – composing skills; PE – dance activities. Achievement objectives: Students will represent the various stages of the growth of a flowering plant through creative music-making and dance. Resources: large space, classroom instruments, large paper and coloured pens for notation if necessary; recording equipment if necessary.
- Compose some music for each stage of the growth of a seed into a flowering plant. These notes will help you:
-
-
- A seed is a very small thing. Find a very small sound using the instruments available in the room.
- When a seed is planted in the ground it is watered and expands, or grows bigger. Your seed could grow bigger too. Find sounds that are similar to your seed sound. Join all your seed sounds together.
- Then the seed begins to grow roots, and shoots. Your musical seed can grow roots and shoots too. For a change, you could use a different sounding instrument now.
- Roots grow down into the ground and shoots grow up into the light. Your roots and shoots could grow down and up by using lower and lower, or higher and higher notes.
- Roots and shoots get longer and longer. Your musical ideas which get higher and higher, or lower and lower, could get longer and longer too.
- Shoots begin to grow leaves and flowers next. How will you compose musical leaves and flowers for your musical plant?
- What will your plant be when it finishes growing? A kauri tree? A fern? A sunflower? Moss? A carrot? A cactus?
- Whichever plant you choose, you should think about its particular characteristics. Is it tall or short? Brightly-coloured or pale? Describe the shapes of its flowers and leaves. How do they move in the wind? Is your plant thorny?
- To finish your seed composition you could compose music that can be described in the same way as your fully grown plant
-
- As you compose the music make a note of your ideas in a big colourful graphic score. You can find ideas and activities for graphic scores here.
- Once you have finished composing the music, add movement.
 Half the class could play while the other half move or dance, or you could record the class playing the music then everyone dance to the recording.
 - Perform your musical dance/drama to an audience.

No comments yet.